




Garden & DIY
How To Create A Drought-Tolerant Gravel Border
A step-by-step guide to planning, planting and mulching a gravel border that copes with hot, dry summers and needs very little watering once established.
A gravel border is a relaxed, natural-looking way to garden that copes well with dry summers. Sun-loving plants grow up through a mulch of stones, paths and planting blend together, and once everything is established there is very little watering to do. Here is how to plan, plant and look after one.
Why Choose Gravel?
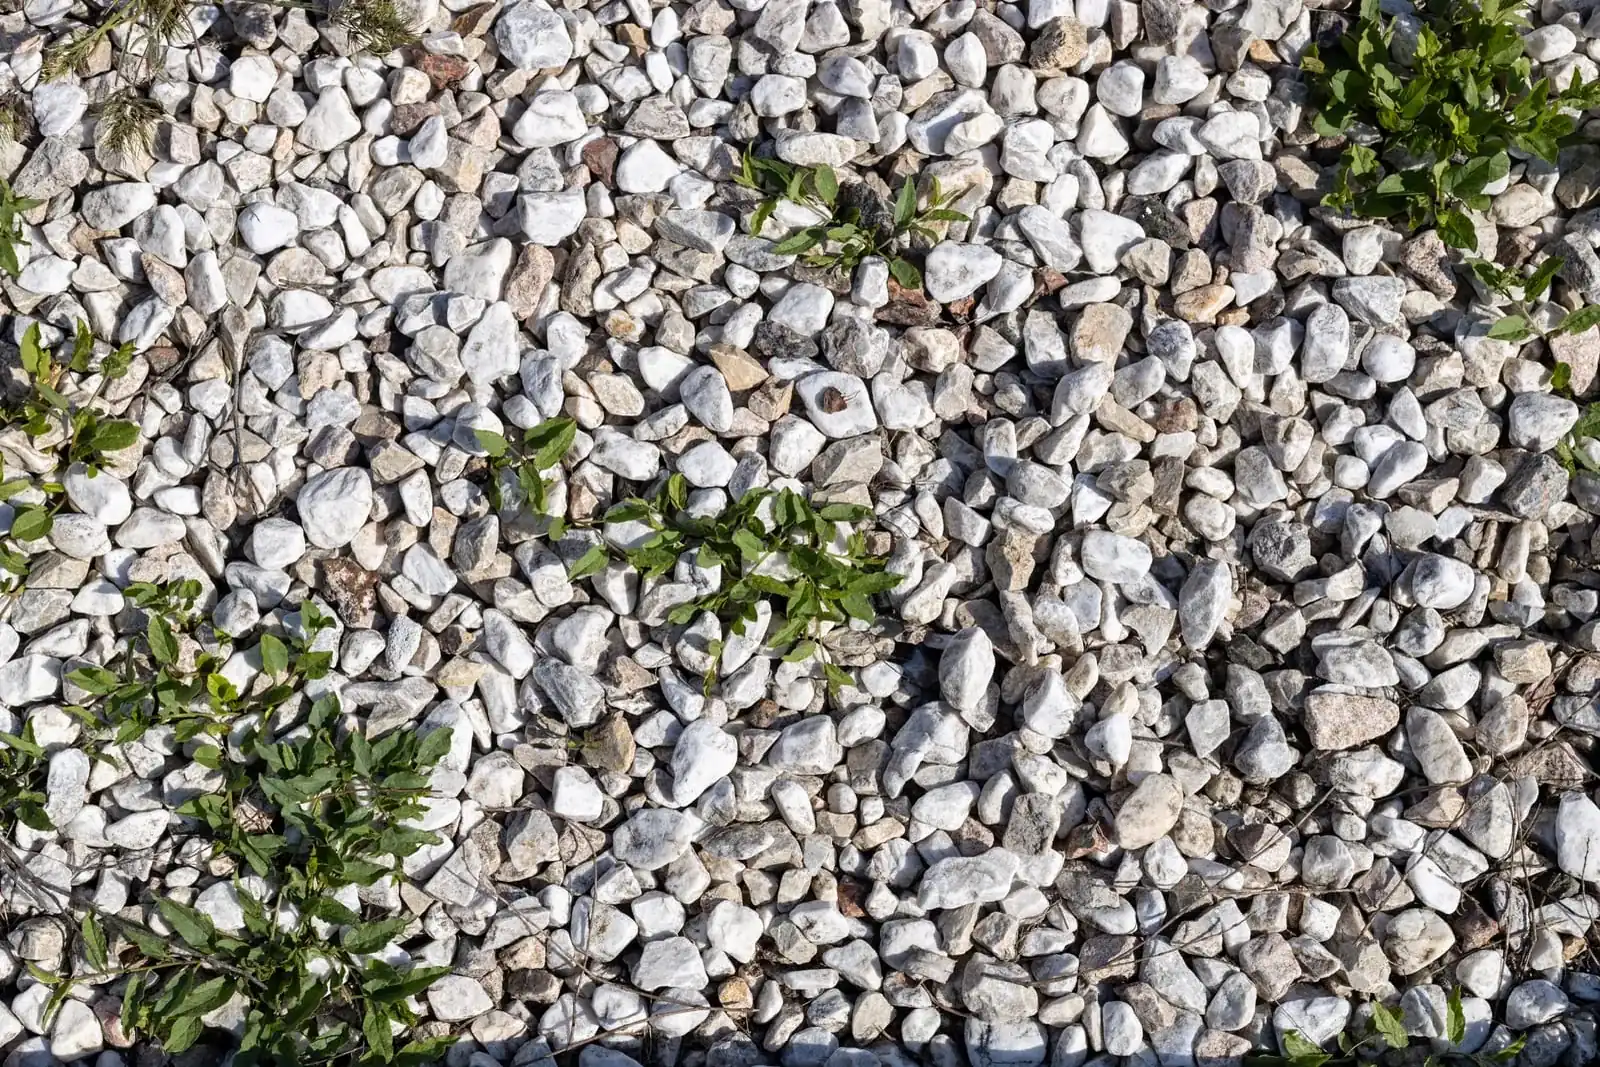
Gravel does several jobs at once. As a mulch it helps hold moisture in the soil and keeps weeds down. It also lets you space plants more loosely, so the border looks natural rather than crammed, and you can walk right through it to enjoy the plants up close.
It fits well with other water-wise habits. The RHS points out that established lawns rarely need watering and recover after turning brown, and it suggests lawn alternatives such as clover, thyme and wildflowers. Its advice on drought-resistant gardening is worth reading alongside this guide if you want to cut back on watering across the whole garden.
Choose And Prepare The Site
Finding The Right Spot
Most gravel garden plants come from dry, sunny places such as the Mediterranean, so a sunny, well-drained spot suits them best. Sandy or gravelly soil is ideal, and these plants are happy in fairly poor, unimproved ground.
Heavy, damp clay and areas with a high water table are not suitable for a gravel border. If your soil is on the heavy side but not waterlogged, working in organic matter such as garden compost will help improve drainage.
Preparing The Ground
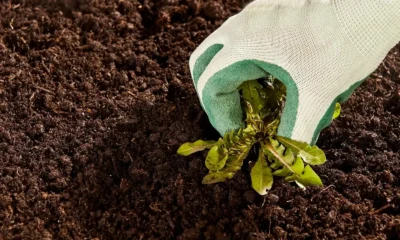
Clear the area of weeds first, as it is much harder to remove them once plants and stones are in place. Dig through the soil and, if needed, mix in some homemade compost. The RHS notes that organic matter improves both water-holding and drainage, whether your soil is sandy or clay.
Avoid adding fertiliser. Rich feeding encourages soft, lush growth that is more likely to suffer in a drought, which is the opposite of what you want here.
Membrane Or No Membrane?
You can lay landscape fabric over the soil before planting to help suppress weeds, cutting a cross in it for each plant. Skip the membrane if you would like plants to self-seed into the gravel, which is part of the charm of many gravel gardens.
Pick Plants That Cope With Dry Spells
Drought-tolerant plants often give themselves away by their leaves. Many have silver or grey-green foliage, which reflects strong sun, while others are covered in fine hairs that help trap moisture. Good choices suggested by the RHS include:
- Shrubs: lavender, rosemary, cistus, santolina, thyme and ceanothus.
- Perennials: eryngium (sea holly), euphorbia, achillea, nepeta (catmint), sedum, verbascum, kniphofia and scabious.
- Grasses: stipa, briza media (quaking grass) and pennisetum.
- Bulbs: alliums and, for autumn colour, Nerine bowdenii.
- Summer fillers: cosmos and gazania.
You will find a longer list in the RHS guide to gravel gardens. In a gravel border, mix contrasting leaf shapes and textures, such as spiky sea holly beside soft mounds of catmint and airy grasses, and remember to allow for each plant’s final size.
For extra height and structure, Abelia × grandiflora and Euphorbia characias are among the RHS’s top picks for dry gardens. If your border runs along a sunny wall or fence, climbers such as trachelospermum or campsis suit the same conditions.
Planting A Gravel Border Step By Step
- Time it well. Plant in March, as the soil warms, or in September while it is still warm. The RHS suggests April for silver-leaved, sun-loving plants so they can root in before winter.
- Start small. Young plants, such as perennials in 9cm pots, settle in faster than large ones and adapt gradually to dry conditions.
- Soak the rootball. Stand each pot in a bucket of water until the bubbles stop rising.
- Lay out and plant. Arrange the pots on the ground, stand back and adjust, then plant. Setting small plants on low mounds stops them being swamped by gravel.
- Water in. Water new plants regularly through their first year while the roots establish.
Choosing And Spreading The Gravel
For Mediterranean-style plants, the RHS recommends a gravel mulch 5 to 7.5cm deep. That is enough to keep moisture in and weeds down without burying young plants.
- Size: fine grades are 10mm or less; 20mm is easier to walk on and less appealing to cats.
- Type: avoid limestone chippings if you plan to grow acid-loving plants.
- Colour: pick a shade that matches the stone already in your garden, such as paths or walls.
- Quantity: as a guide, a 25kg bag covers about 0.6 square metres at 5cm deep, and a cubic metre delivered loose covers roughly 20 square metres.
Looking After Your Gravel Border
Expect to do some weeding in the first year or two. It becomes much lighter as the plants fill out. Top up the gravel whenever it starts to look thin.
Once established, well-chosen plants should not need summer watering. Leave faded flower stems standing over winter if you like the look of them, then cut them back in early spring, or tidy them in autumn if you prefer. Letting some plants self-seed will gradually soften the planting and fill gaps for free.
Getting Started
- Choose your sunniest, best-drained spot.
- Clear weeds and skip the fertiliser.
- Buy small plants with silver, grey or hairy leaves.
- Plant in spring or early autumn and water through the first year.
- Finish with 5 to 7.5cm of gravel and top it up as needed.
Looking for your next outdoor project? Browse more ideas in our garden and DIY section.
For more seasonal ideas and practical gardening guides, take a look around Beyond The Garden Gates.